Saturday, December 31, 2016
Thursday, December 15, 2016
It's beginning to look a lot like Christmas!
A view from our porch during the evening's snowfall ....

Friday, November 18, 2016
Perennial Garden
Today, while strolling through the perennial garden in 74 degree F sunny weather : ) I took photos of the remainder of the flowers that are still blooming.

Clockwise, starting at the top left are rhododendrum, sundrop fall foliage, yellow mum, pansy, rosebud, creeping phlox, yarrow, pincushion, stock, and veronica. The spicy, sweet smelling stock isn't a perennial, but I'll save the seeds to plant new ones in the spring.
The rhododendum normally only blooms in early spring.
Yesterday, I dug out the gladiola corms or bulbs to save through the winter and re-plant in the spring. I'll store them in a paper bag in the basement. I also dug the striped spider plant from an outdoor planter box which I'm now hanging in the dining room.


This summer I planted a few English lavender plants and was able to gather a small bunch of flowering branches that I've hung in the kitchen window. They smell so wonderful!
Thursday, November 17, 2016
Canada Geese Gathering
This is a photo of about one-third of the flock of geese gathering in the nearby field, getting ready for their trip South.


Tuesday, November 15, 2016
Surprise Blooms!
Normally, November weather in Western New York is cold and snowy. We all remember "Snowvember" in 2014!
But today, November 15, 2016, I'm looking at the thermometer which reads 59.5 degrees F. Sunny and warm. In fact, after I finish this post, I'm going to do some gardening, a little Fall clean-up work that I haven't finished yet.
I was out earlier in the day and saw something I haven't seen before -- a couple blossoms on our azalea and rhododendrum bushes which typically bloom in the early Spring. I'm not sure what that might mean for next Spring's blooms, but I'll let you know in May.
So I'll enjoy it while I can, since it's only a matter of time before that thermometer plunges and the snow flies!
 |
| November 18, 2014 |
 |
| November 15, 2016 |
But today, November 15, 2016, I'm looking at the thermometer which reads 59.5 degrees F. Sunny and warm. In fact, after I finish this post, I'm going to do some gardening, a little Fall clean-up work that I haven't finished yet.
I was out earlier in the day and saw something I haven't seen before -- a couple blossoms on our azalea and rhododendrum bushes which typically bloom in the early Spring. I'm not sure what that might mean for next Spring's blooms, but I'll let you know in May.
 |
| Our rhododendrum on November 15, 2016 |
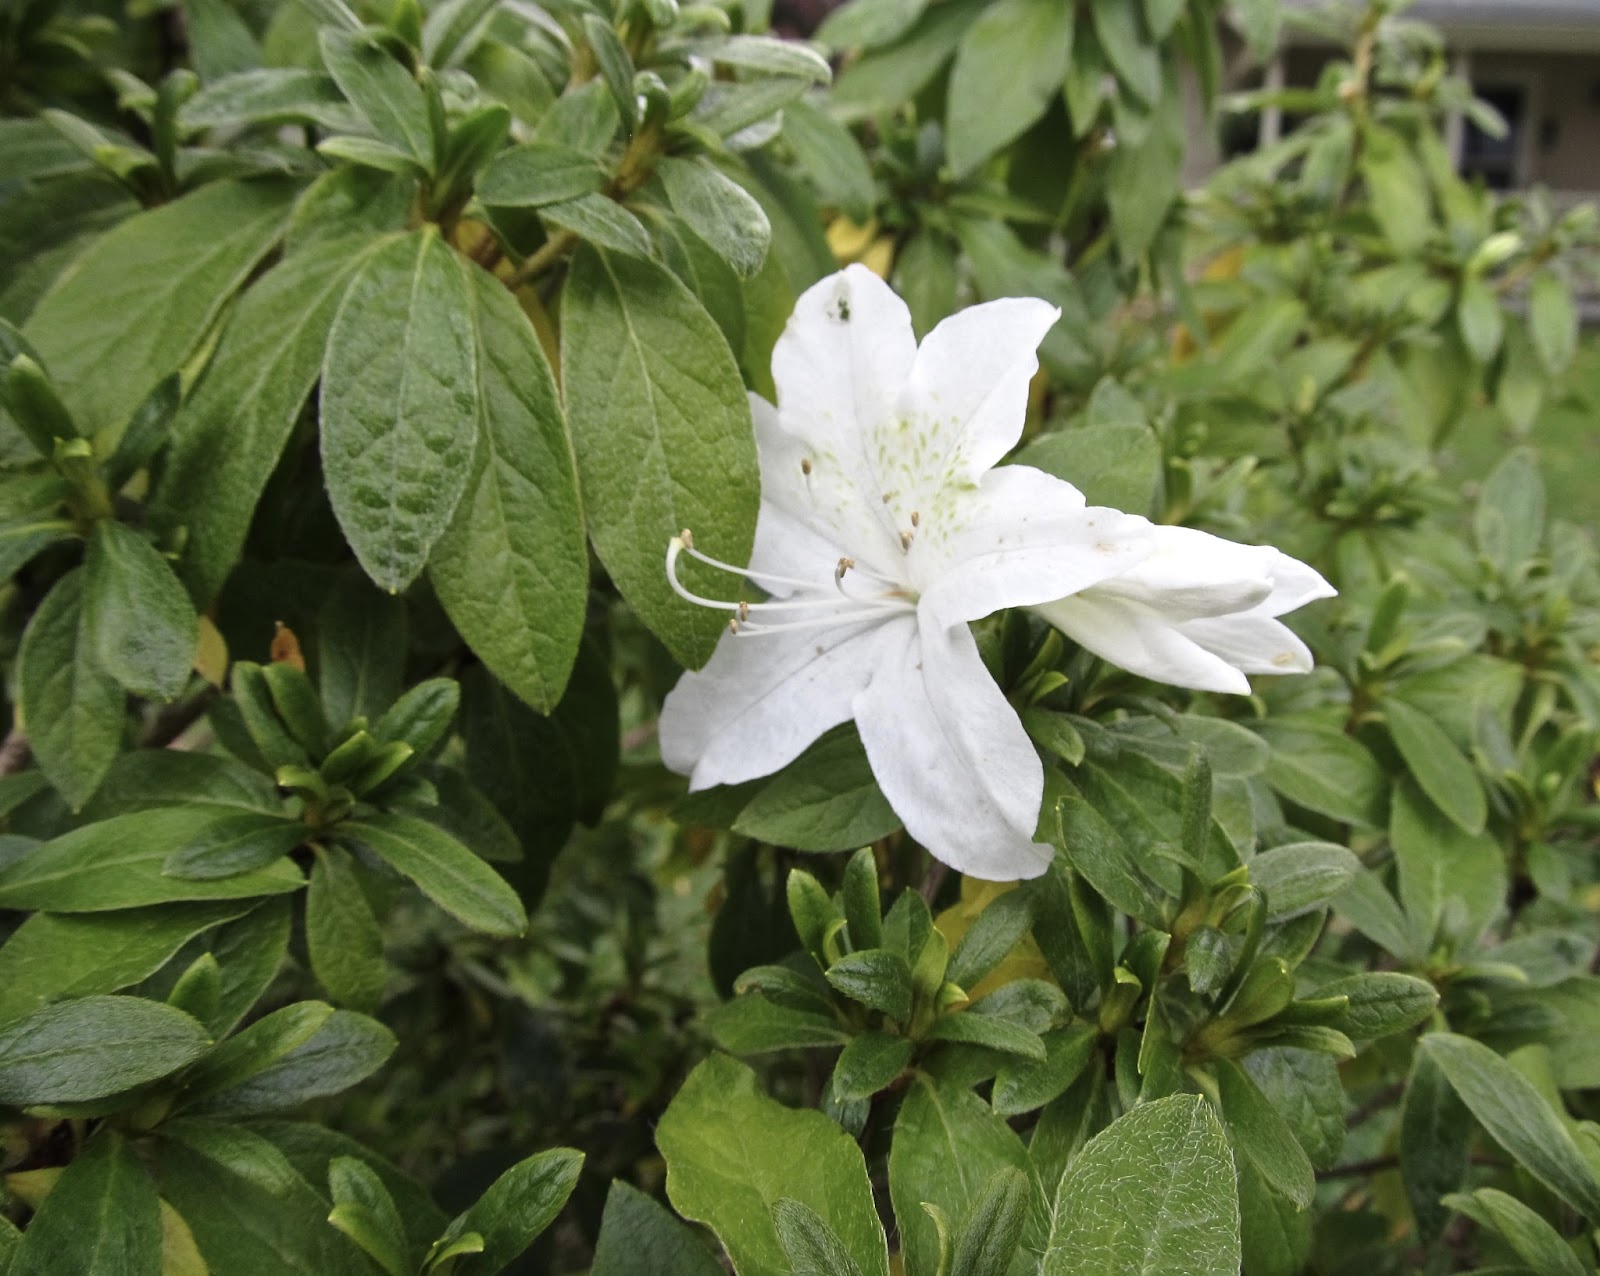 |
| Our Azalea on November 15, 2016 |
So I'll enjoy it while I can, since it's only a matter of time before that thermometer plunges and the snow flies!
Thursday, November 3, 2016

Saturday, October 29, 2016
Beyond the Path Train Ride

Today we took a short ride on a restored train with a steam engine built by Baldwin Locomotive Works September, 1924. The engine weighs 60,000 pounds and was built for American Viscose Co., Roanoke, Virginia. The engine was completely restored to operating condition between 2004-2007.
It was a damp and windy day, so we were glad we had decided to purchase tickets for the enclosed refurbished car which was manufactured in the 1930s. Our ride took us through our own town, behind businesses and homes that we've never seen from that vantage point, and continued to the trestle bridge overlooking 18 Mile Creek.

 |
| On trestle overlooking 18 Mile Creek |
Friday, October 21, 2016
Autumn
We have two sugar maples and two red maples on our property which we tap in February for sap to make maple syrup. The sugar maples are the first to change color in Autumn.


I see the turning of a leaf
dancing in an autumn sun,
and brilliant shades of crimson
glowing when a day is done.
Hazelmarie Elliott
Wednesday, October 12, 2016
Grape Juice

I picked the Concord grapes from our small vineyard : ) of three vines and was able to squeeze out about 5 quarts of lucious juice. The house was filled with that wonderful grape aroma!
After stripping the grapes from the stems I boiled them in a pot to release the juice and crushed them with a potato masher. The grapes were then strained through cheesecloth to produce the juice with no seeds or skins. No sugar was added to the juice.
I processed and sealed the quarts for 15 minutes in a water bath canner, so they will last for months on the pantry shelf.
 |
| Grapes boiling in the pot |
 |
| Quart jars after being processed in hot water bath canner |
Saturday, October 8, 2016
Tulip Bulbs
This past Spring, after the tulips had bloomed and the foliage died down, I dug up the bulbs and saved them for planting this Fall. Normally, I leave the bulbs in the ground, but this Spring there were all leaves and not many flowers. The photo below is from Spring blooming a couple years ago and I'm hoping that dividing the bulbs and replanting them will encourage them to bloom again. We shall see!


 |
| Tulips at entrance to perennial path, Spring 2014 |
I planted my saved bulbs in the same location at the entrance to the perennial garden on both sides of the arbor. First, I dug the trenches about 3 times the depth of the bulbs.
 |
| Bulbs that were dug up and saved from last Spring |
 |
| Trench on left and right of path entrance |
Next, I sprinkled bone meal into the trenches and mixed it into the soil.

Then I placed the bulbs, pointy end up, into the trenches and covered with soil.

We have a problem with the squirrels digging up bulbs, so I placed chicken wire over the planted areas and will remove the wire after the bulbs have begun to sprout next Spring. At least that will discourage the squirrels from digging them up during the fall, winter and early spring months. Hopefully, I'll have pretty pink flowers in May. I'll keep you posted.

Wednesday, October 5, 2016
Meanwhile, Back at the Farm ...

It won't be long before the tractor at the Community Garden farm transforms into plowing mode to turn under the remains of the plants that did their job in supplying the bushels of fresh, organic produce this growing season.
Today, I picked the last handful of green and yellow beans, the rest of the onions, lots of red tomatoes, and a few hot peppers. There are baby hot peppers that still might have time to mature. I'm leaving the green tomatoes on the vine a little longer. I'll have to watch the weather, because if frost is in the forecast, the green tomatoes and peppers will have to be picked beforehand.
The farm that leases parcels to the Community Garden members grows pumpkins to sell at their garden center. Here's a photo of just a small portion of the hundreds and hundreds of pumpkins in the field.

Sunday, October 2, 2016
Pumpkin & Succulent Fall Centerpiece

There was a good deal on pumpkins at our grocery store -- $3.99 for a large one -- so I couldn't resist buying one in order to try making the popular pumpkin/succulent centerpiece that I've seen, but never tried before.
All that is needed is a pumpkin, assortment of succulents, glue gun, tacky glue, moss, and any other decorations to make your centerpiece unique to you.
The nice thing about it is that you don't even have to cut into the pumpkin, so it should stay fresh for a couple months, hopefully.


Start with your clean pumpkin. Smear some tacky glue around the top and press on the moss. Wait about a half hour until it dries a little.

In the meantime, unpot the succulents, remove dirt and roots, and separate the succulents into pieces.

Start with the largest plants and begin gluing with hot glue from the center outward. I let the hot glue cool slightly before placing the cutting on it.

Work your way around the pumpkin until the plants look balanced. When you're happy with the arrangement, add in your decorations. I like sparkles, so I found a pick of glittery fall leaves and took it apart to use the individual leaves which I tucked under the moss.
Mist the succulents with water every day to keep the plants fresh.

It was a quick project, finished in about an hour and a half.
I understand that the succulents begin to grow roots into the pumpkin as it softens. Once the pumpkin begins to deteriorate, the top of the pumpkin along with the succulents can be cut off and planted in a container with potting soil and then transferred outside when the weather permits, so the succulents will continue to grow.
Here's the cost breakdown:
Pumpkin $3.99
9 succulents @ $3.74 each = $33.66
10 glue sticks $2.00
1/2 bag moss $1.50
Glittery leaf pick $3.78
Total Cost $44.93
Email me if you have any questions. Enjoy!
Thursday, September 29, 2016
Saving Seeds
I like saving flower seeds from annuals to plant the following growing season. Usually, after a flower on a plant has died down, the spent bloom is cut off the plant to encourage new growth. But I leave some of the dead flowers on the plant to dry out and form seeds. Then I remove the seeds, put them in an envelope labeled with the contents and year, and store in a cool, dry place.
 |
| Zinnia flower that has dried out and gone to seed. |
 |
| Petals with attached seeds pulled from dry flower |
 |
| Seeds separated from petals ready for storage |
 |
| Store in a labeled envelope until ready for use next Spring. |
Saturday, September 24, 2016
Community Garden Fall Harvest

This morning, while hubby was repairing our fence, I headed over the the community garden to do some harvesting. The weather is a cool 63 degrees and sunny with a light breeze -- perfect for working in the garden and a reminder that Fall has arrived. The leaves on our two sugar maples have begun to change color and the last of my Fall blooming perennials, the Toad Lily, has finally flowered.
 |
| Leaves changing color on our sugar maple tree |
Over at the community garden I picked cherry and regular tomatoes, beans, carrots, yellow and red onions, eggplant, and peppers.

The first batch of onions that I harvested a couple weeks ago were dried in a single layer on a homemade soil sifting screen for about two weeks, the stems were then removed, and the onions are being stored in used mesh bags that I save when buying oranges at the grocery store.
Harvest the onions when the green tops flop over in the field. Of course, they can be used right after picking, but if you have more than you can use at one time, they can be stored for later use. I dry them in our shed to keep them out of the rain.
 |
| Onions on drying screen |
 |
| Onions after drying with stems removed |
 |
| Ready for storage in mesh bag |
After a couple weeks they're ready to store in mesh bags in a cool place and will last a few months, depending on the variety. Onions can also be chopped and frozen and don't need to be blanched first like most other veggies that are frozen.
The Toad Lily is the last of my garden perennials to bloom. The flower looks like a mini orchid.
 |
| Toad Lily |
Thursday, September 22, 2016
Concord Grapes

We started our little Concord grape patch about 15 years ago with three vines and planted them next to our shed where they get sun most of the day. Concord grapes are native to North America. I've never known how to prune them like an expert, but we still get a nice crop each year, enough for juice, jelly and snacking. We always know when they're ready to pick just by walking by the vines and smelling that wonderful grape aroma! And, of course, by the taste test : )
 |
| Photo taken on July 31, 2016 |
 |
| Photo taken today, September 22, 2016, of the same bunch of grapes. |
Subscribe to:
Comments (Atom)